
Lace bunting is a beautiful decoration for any tea party, girls’ birthday party, spring kitchen, or special occasion that calls for this style. It is a super easy and quick sewing project that is compact to be stored for more celebrations to come!
What is bunting?
Traditionally, bunting is a piece of string, ribbon, or rope that has triangular fabric hanging off in intervals. The fabric can be any color but usually is either a patriotic pattern, multi-colored, or the color of the theme of the festivities. The term ‘bunting’ has its history in the British navy.
How do I use lace bunting?
As stated before, you can use bunting any time you like to decorate! You can sew a banner like this for a specific season or holiday and use the appropriate colors. You can make one for a themed party, as, it doesn’t take long and adds something nice. Or, you can make one for a perpetual bedroom or hallway decoration… use your imagination! I’m sure you have so many creative ideas that aren’t mentioned here!
A quick and easy project with lovely results
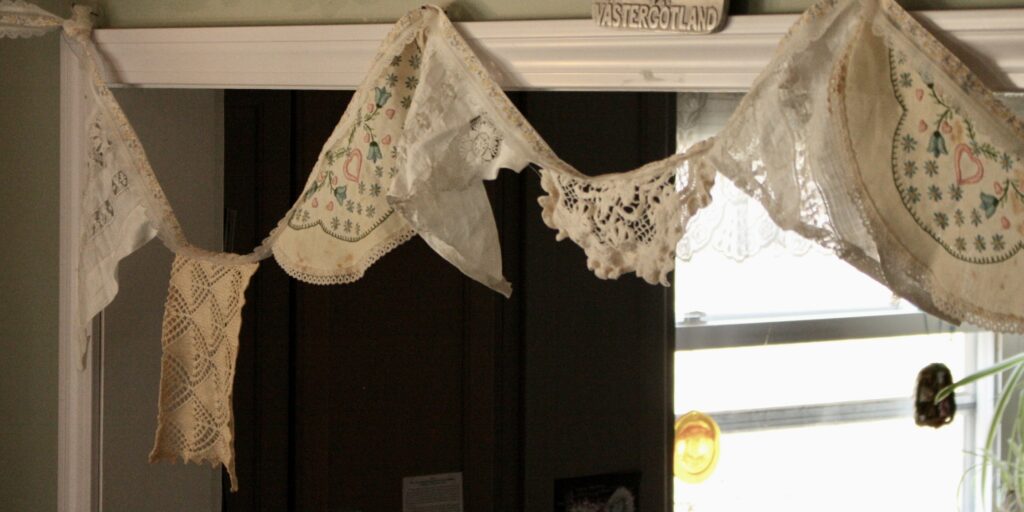
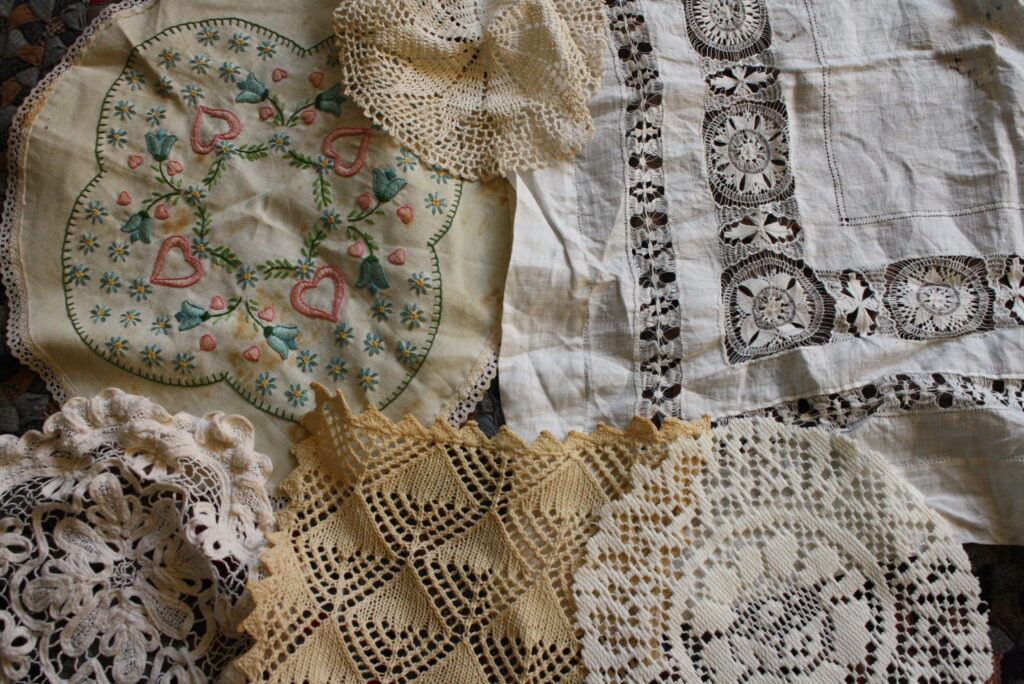
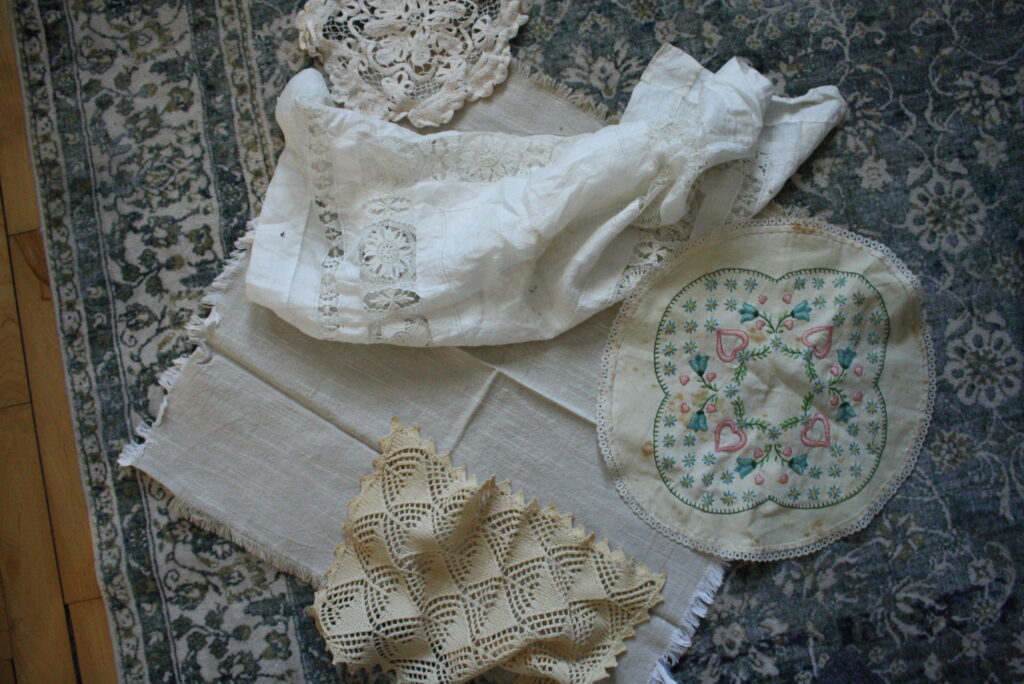
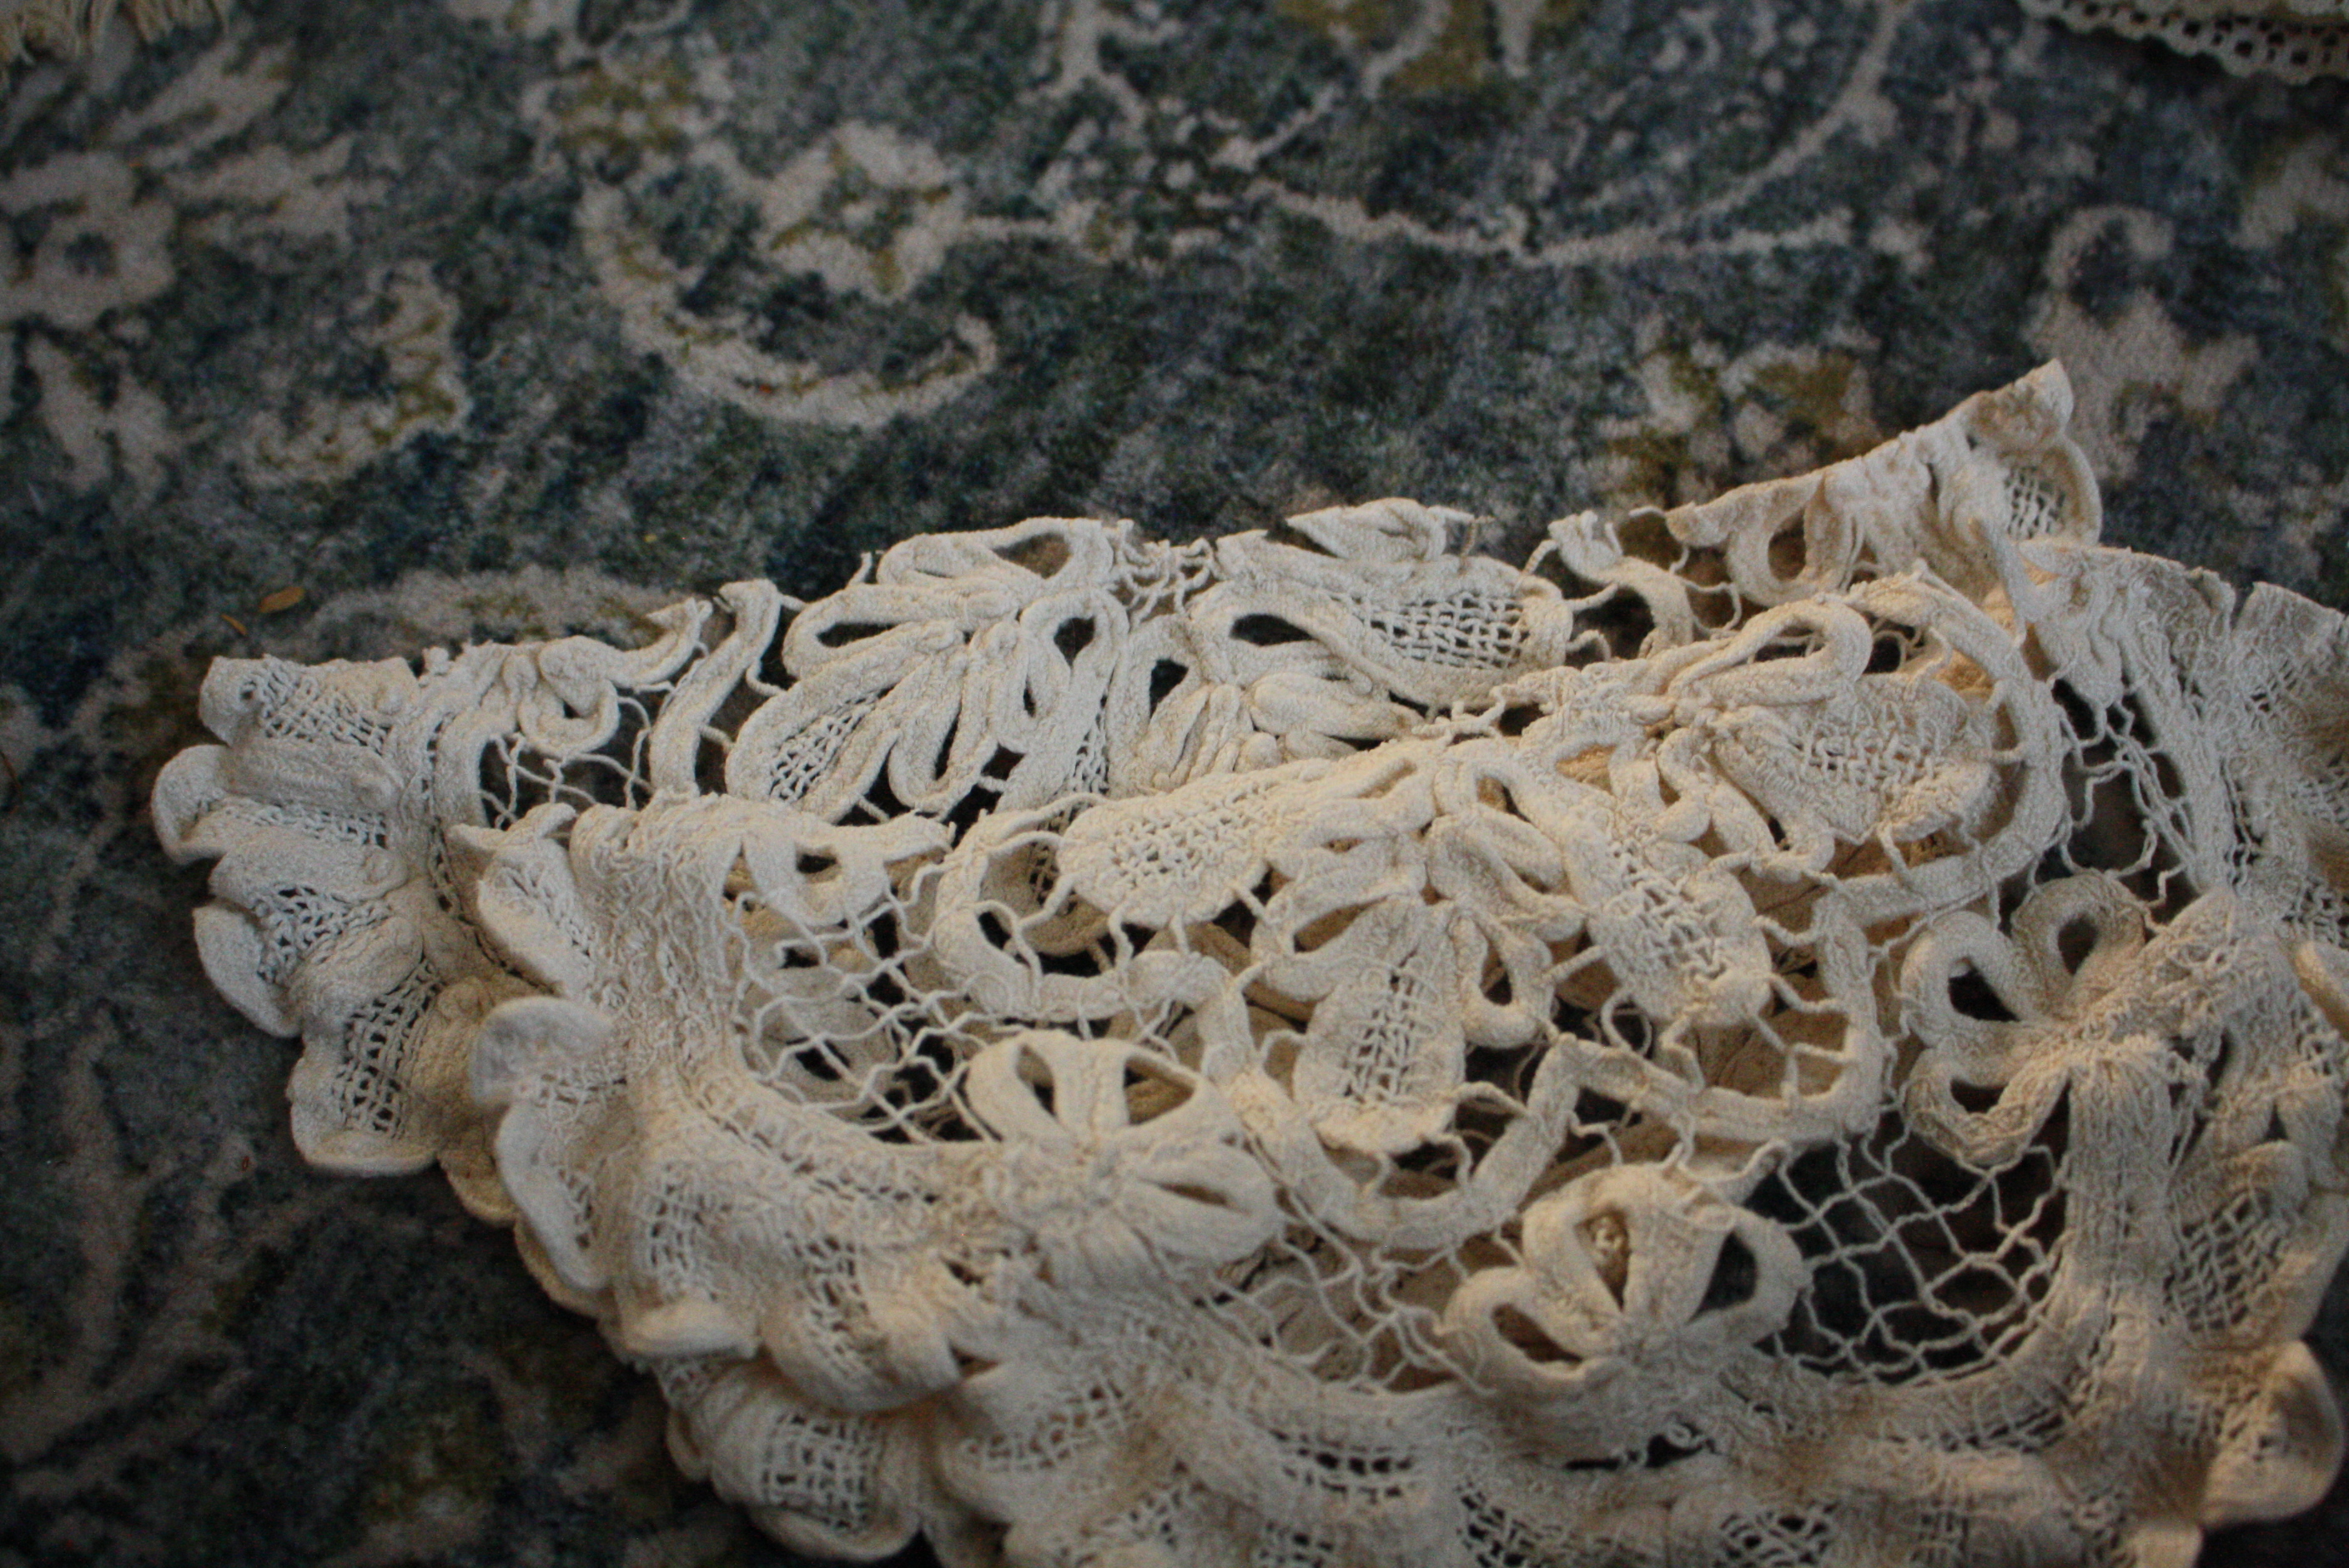
I was given many lace doilies and, while they are beautiful and some hand made, I didn’t have a specific use for them. Instead of just having them sit in the closet I decided to make a bunting for my girls to use for their tea parties, outside in their outdoor tent, or for birthdays. The style of this bunting is more the old-world, fairytale type of theme which we love. What makes the project great though is that you can tailor it to whatever you have sitting around or whatever’s your style.
I actually didn’t even know what bunting was until a couple years ago. Never put two and two together that that’s what those little triangle banners were called. It’s a really pretty decoration. Simple to store and simple to hang.
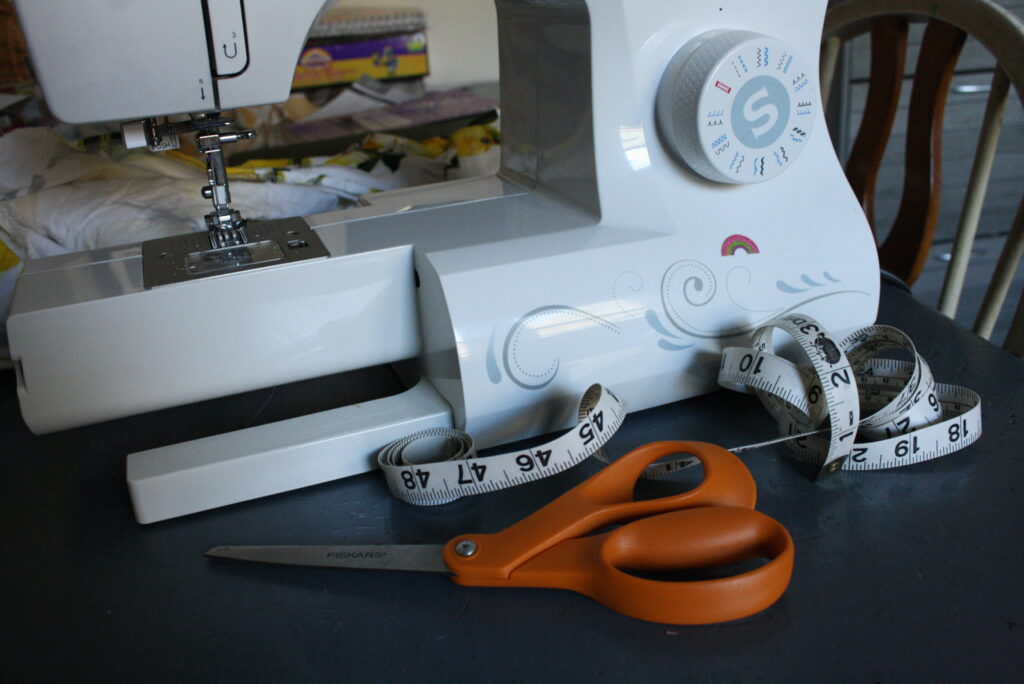
What will I need to sew bunting?
How to make lace bunting?
Of course, if you haven’t washed your fabric make sure to do that first!
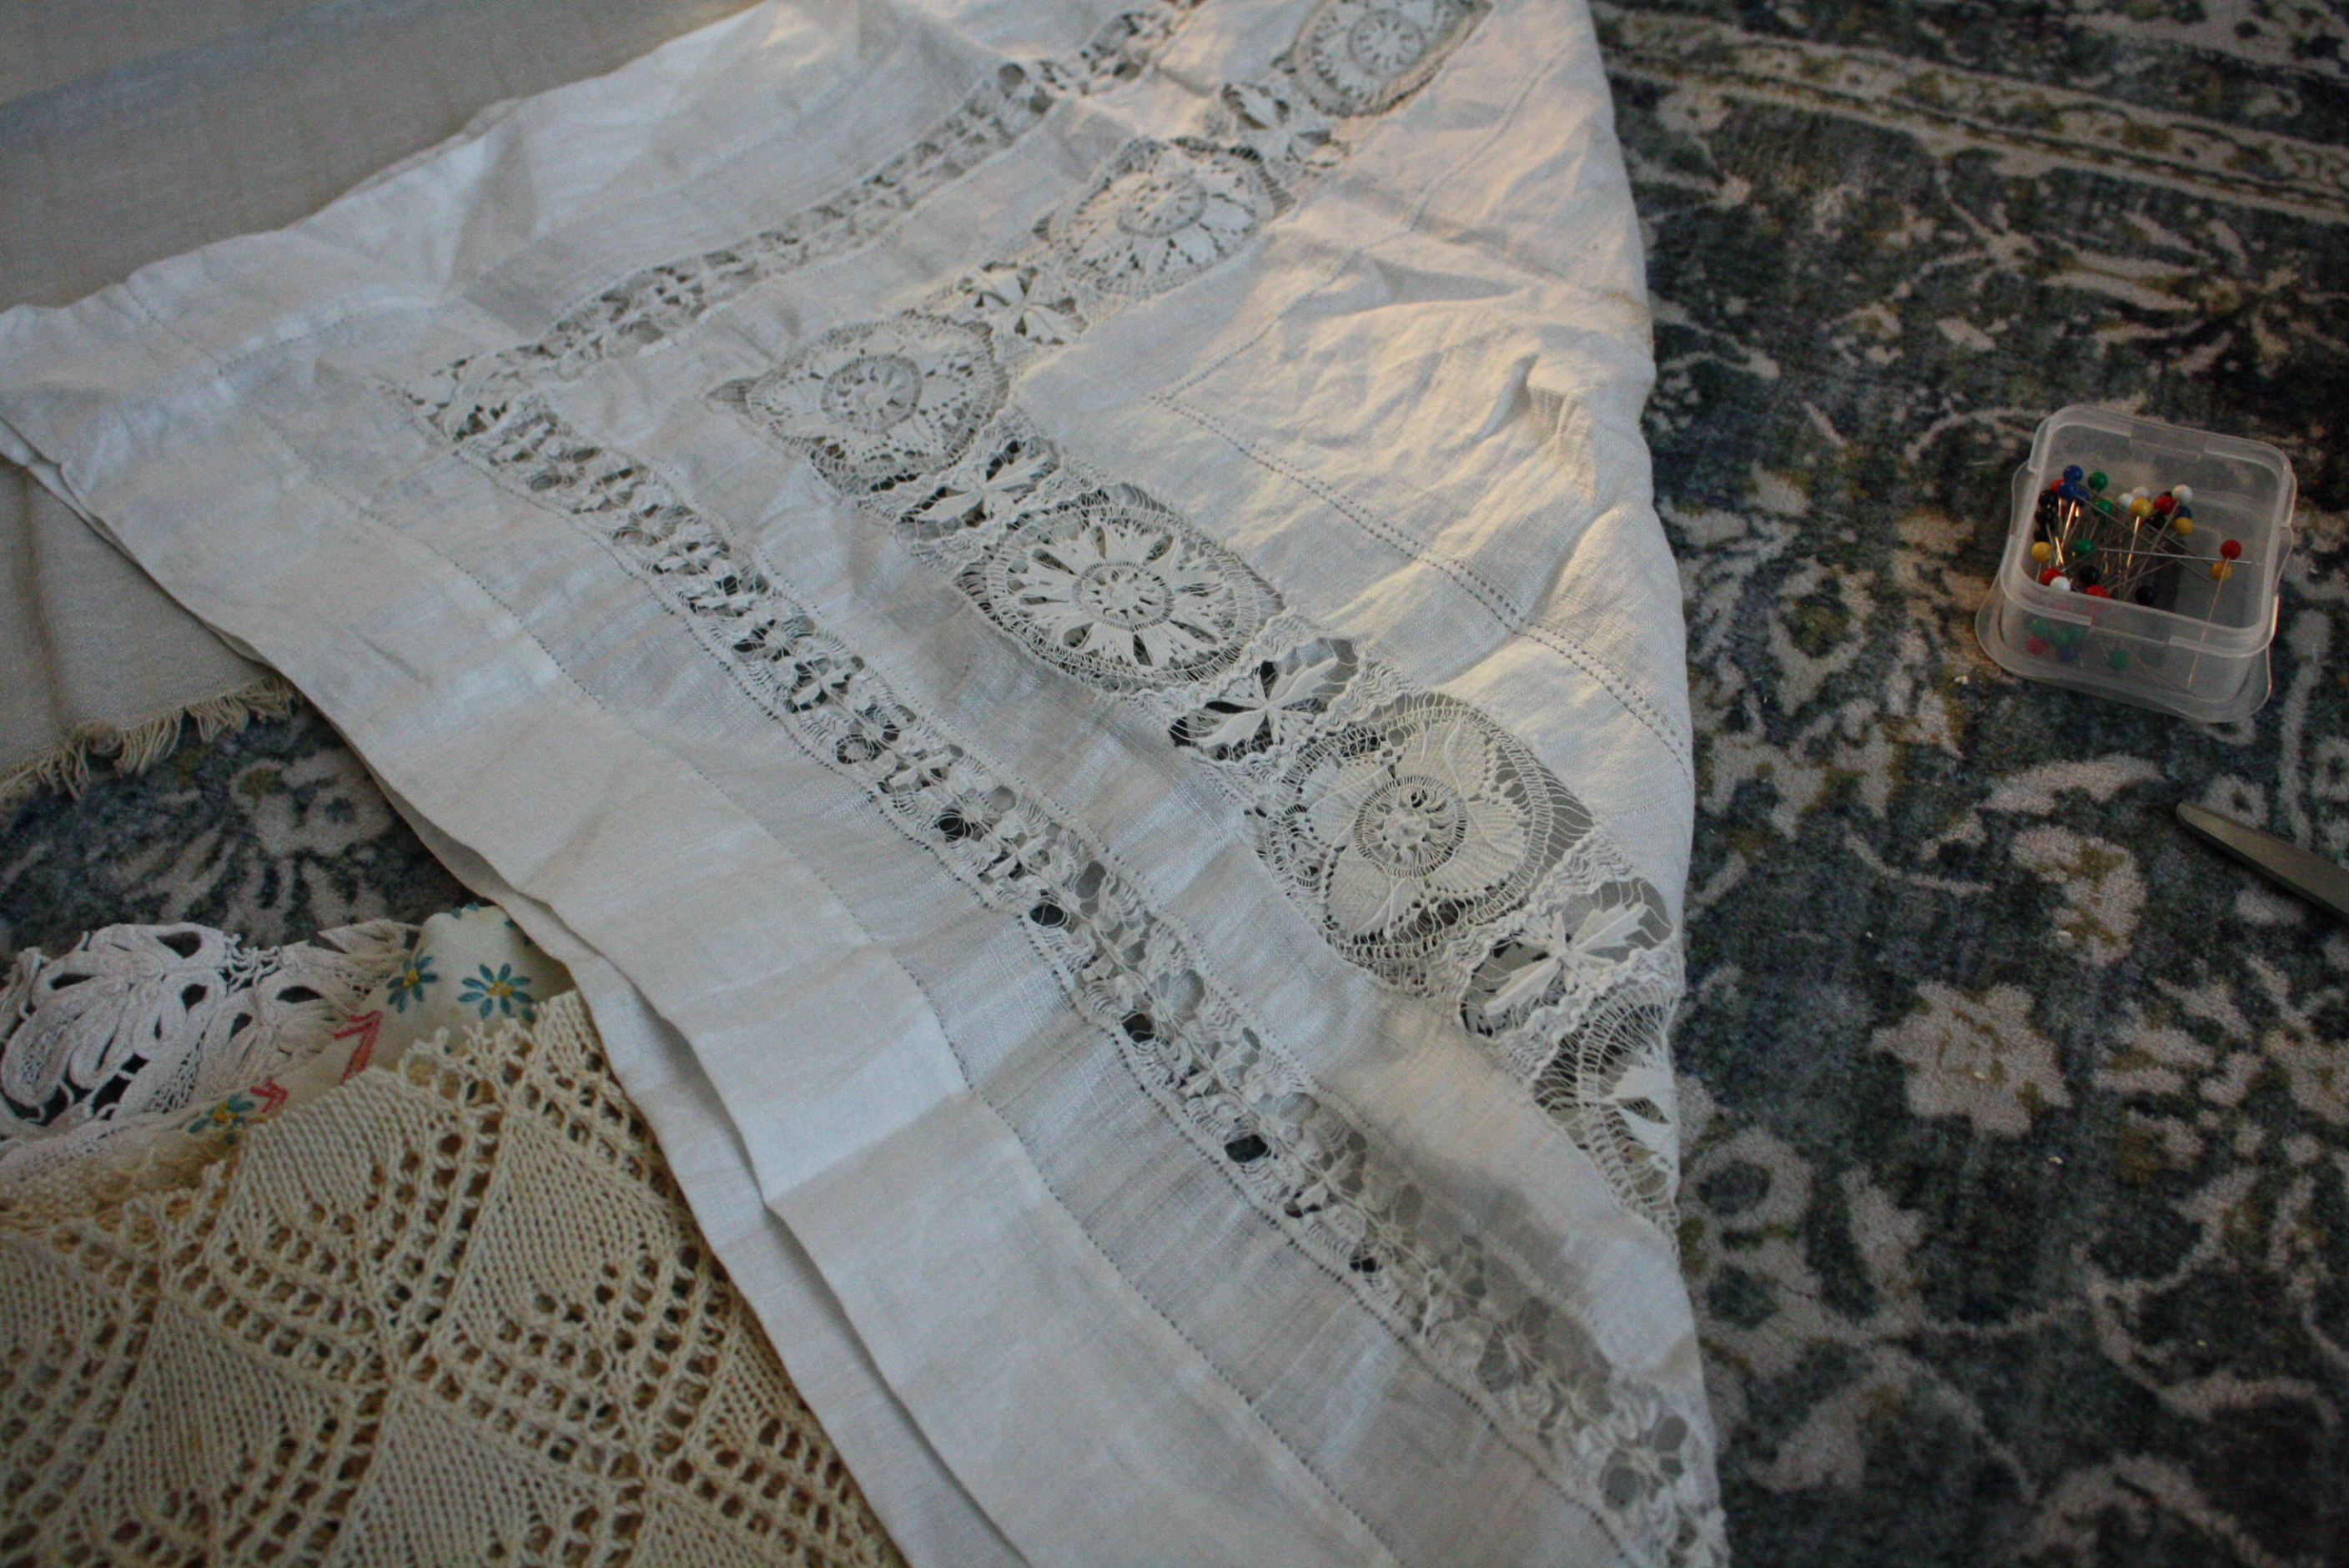
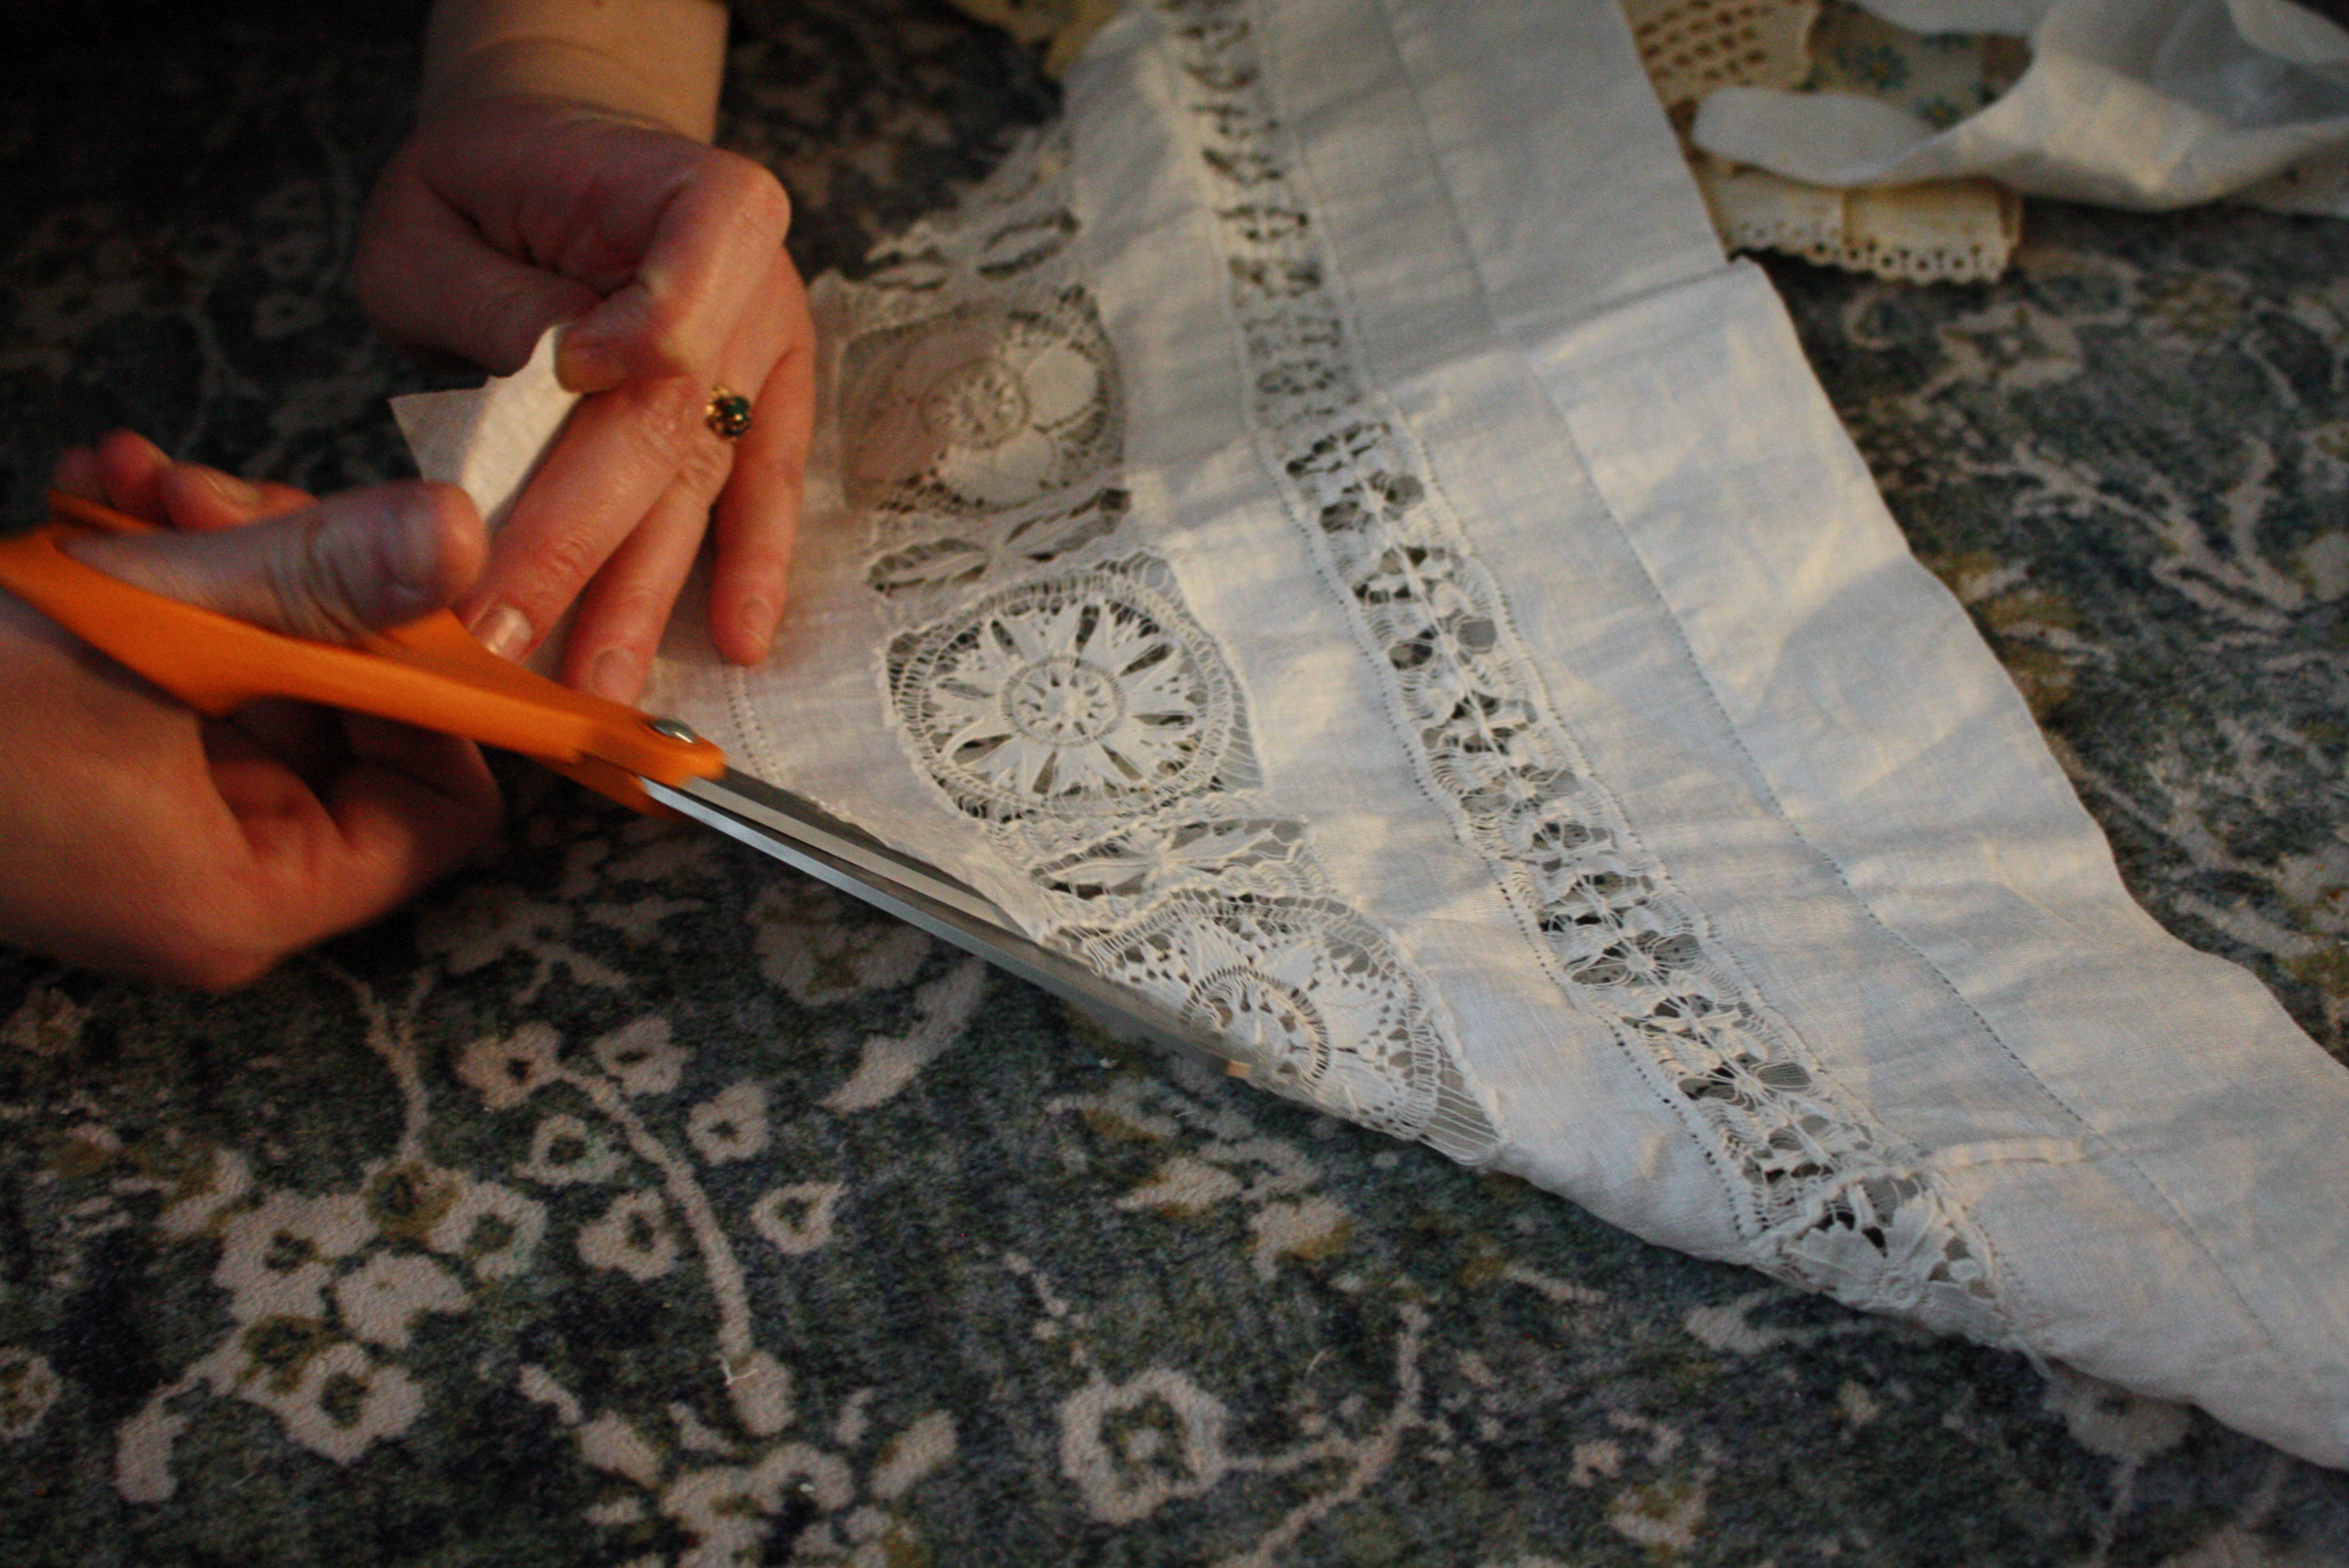
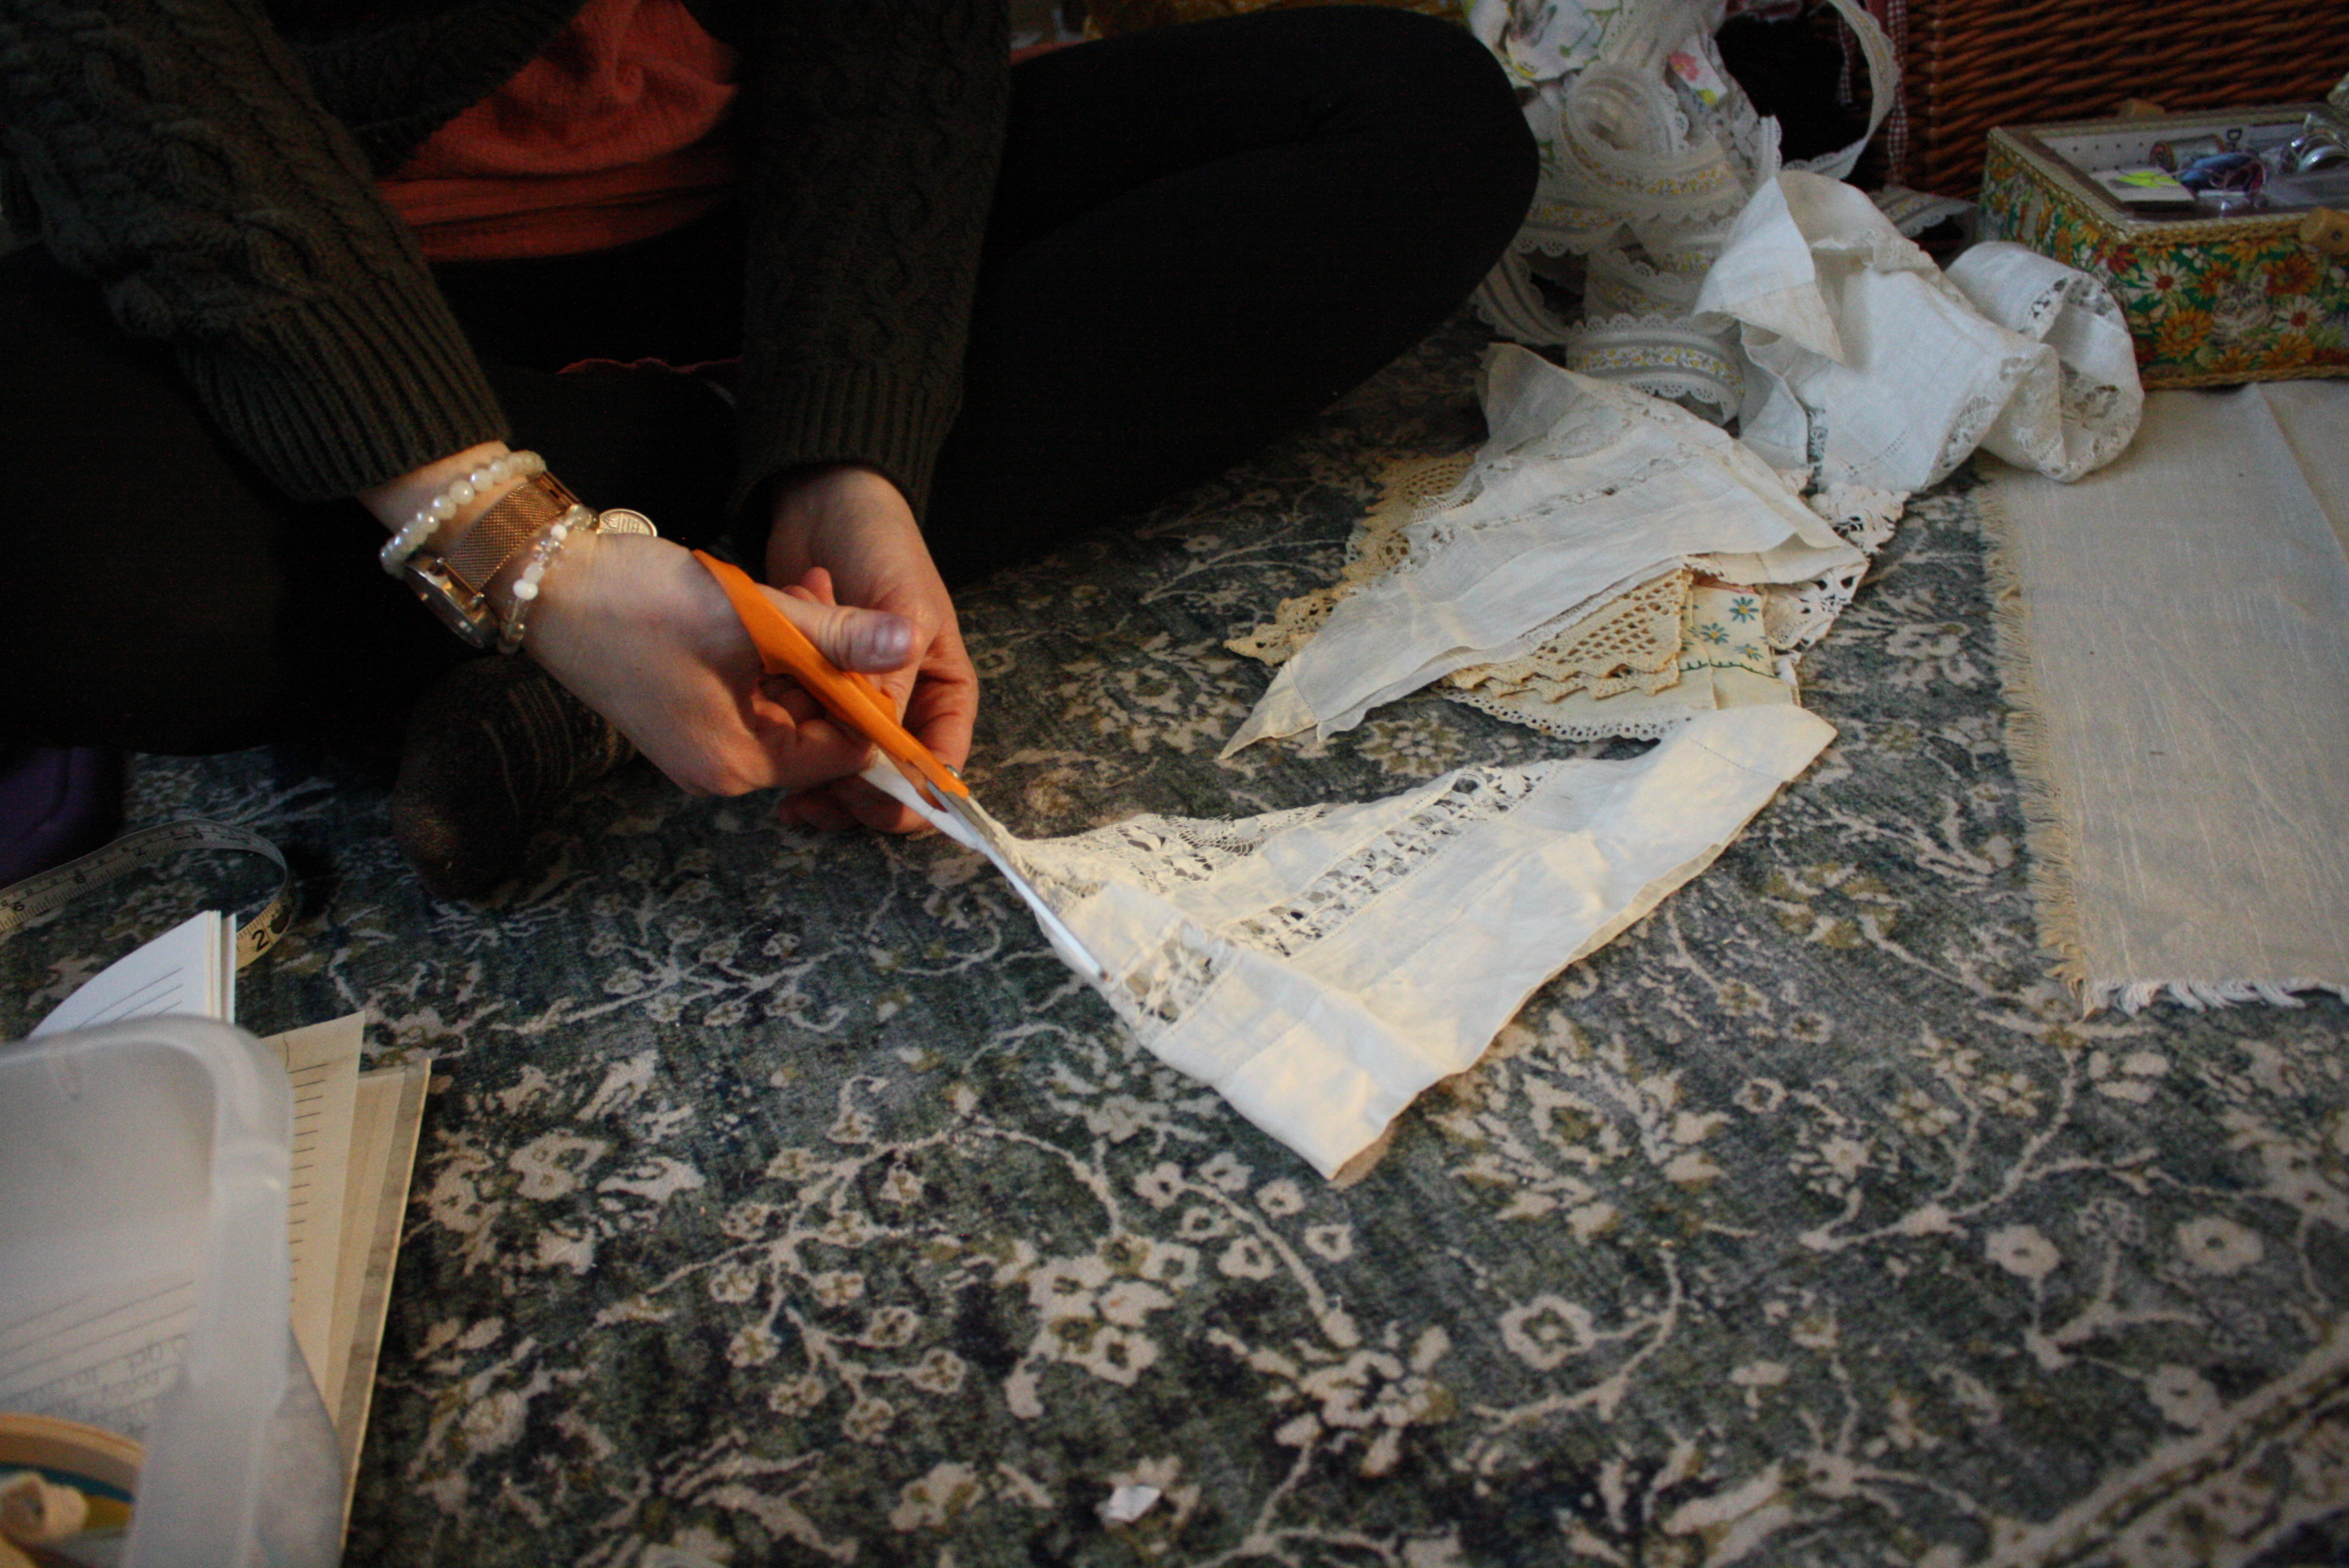
Step 1: Cut your doilies to the dimensions desired. For mine I cut most of them in half. I had one that was a big rectangle. For that, I just folded it diagonal and cut triangles until they were the size I wanted.
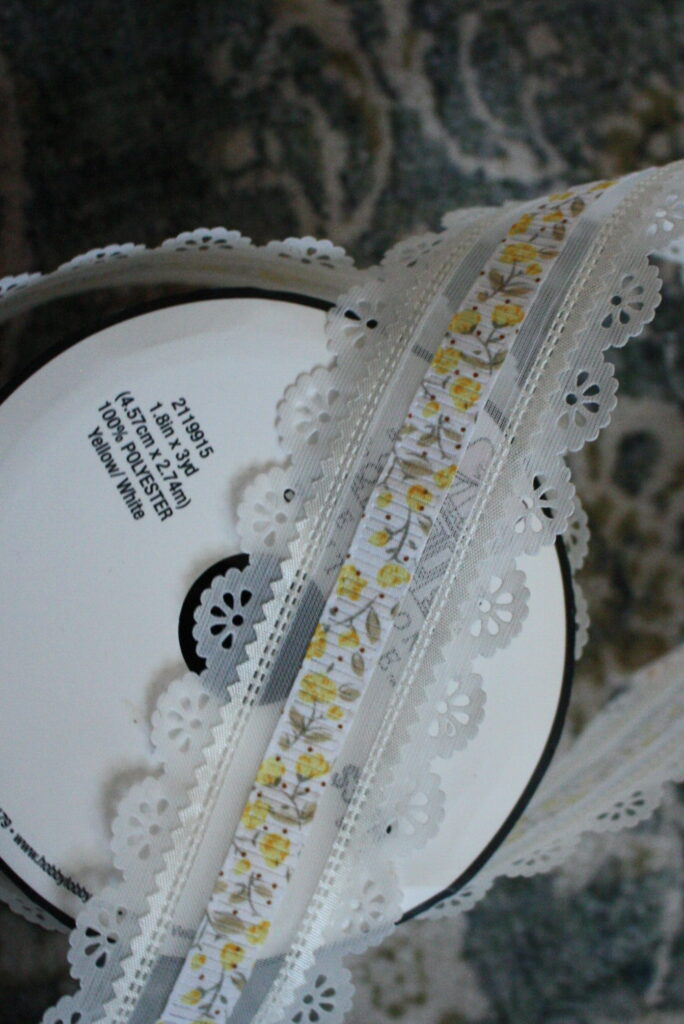
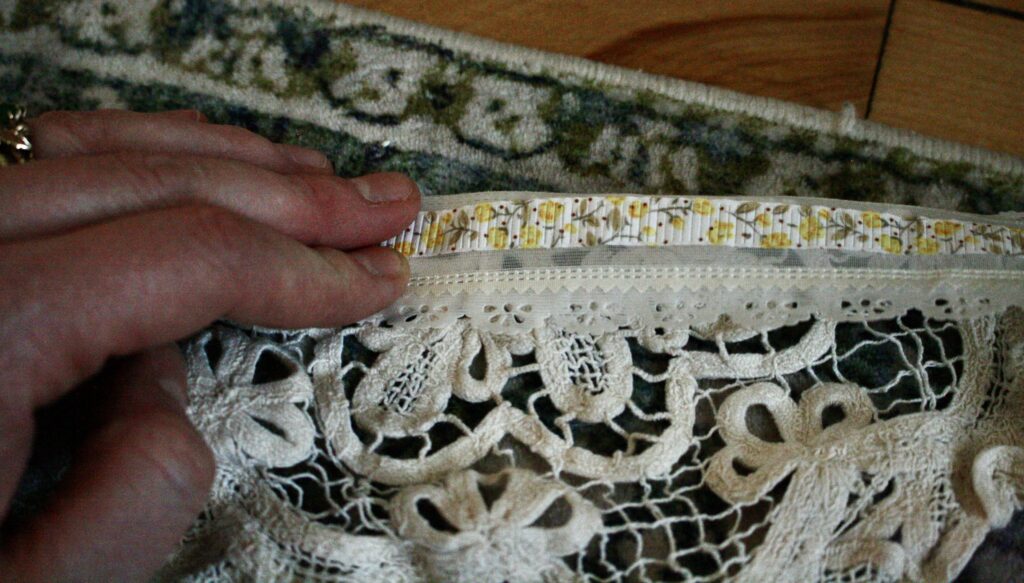
Step 2: Measure out whatever you’re going to sew the doilies to. Ribbon, lace, or a long fabric strip with finished edges are all options. I used this “lace”. I put it in quotes because it didn’t have the feel of a nice lace, but more like plastic. It’s beautiful but because I was unsure whether or not it would melt if I put it in the dryer I didn’t want to use it on clothes.
Step 3: Finish any raw edges of the doily before attaching them to the ribbon.
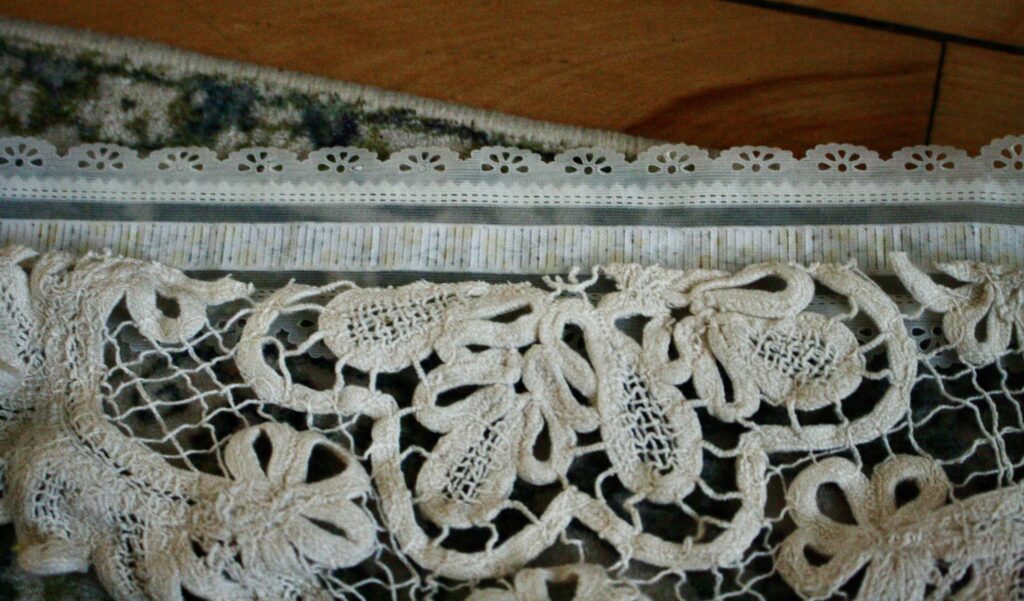
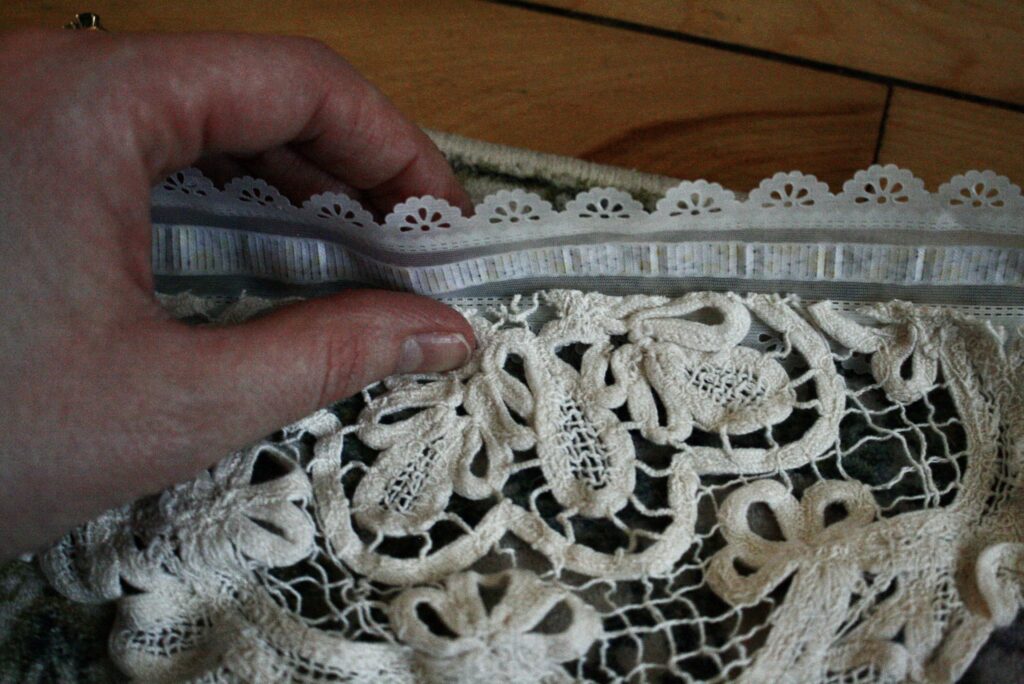
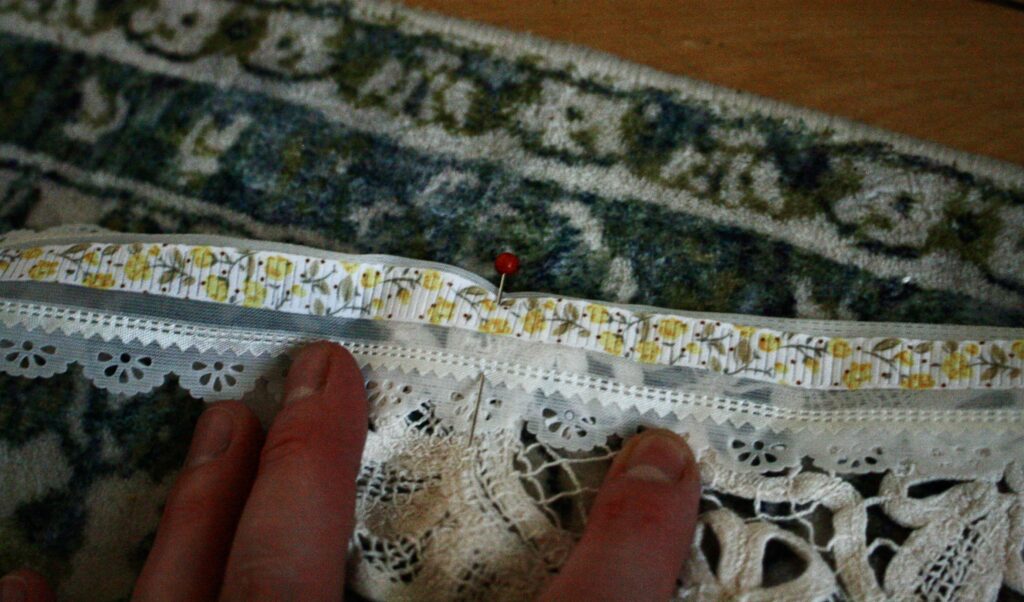
Step 4: Making sure you leave enough inches on the ends to tie (when you hang it up), lay the doilies on ribbon in whatever increments look good to you. This is your project. When they are in position, place the doilies halfway up the ‘wrong’ side of the ribbon and fold it over. Pin them into place.

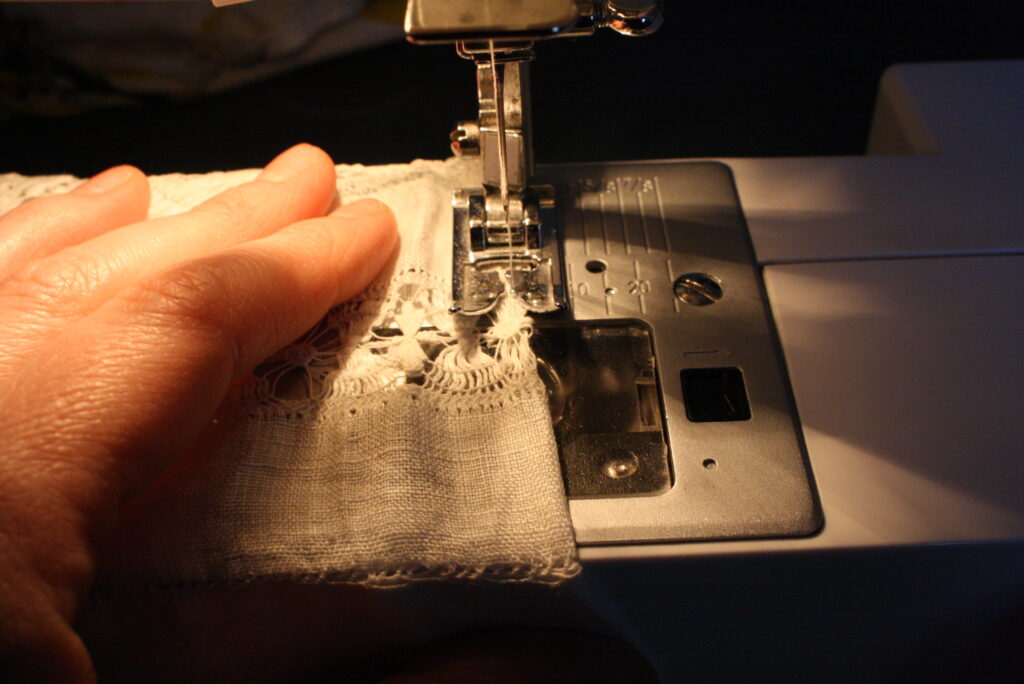
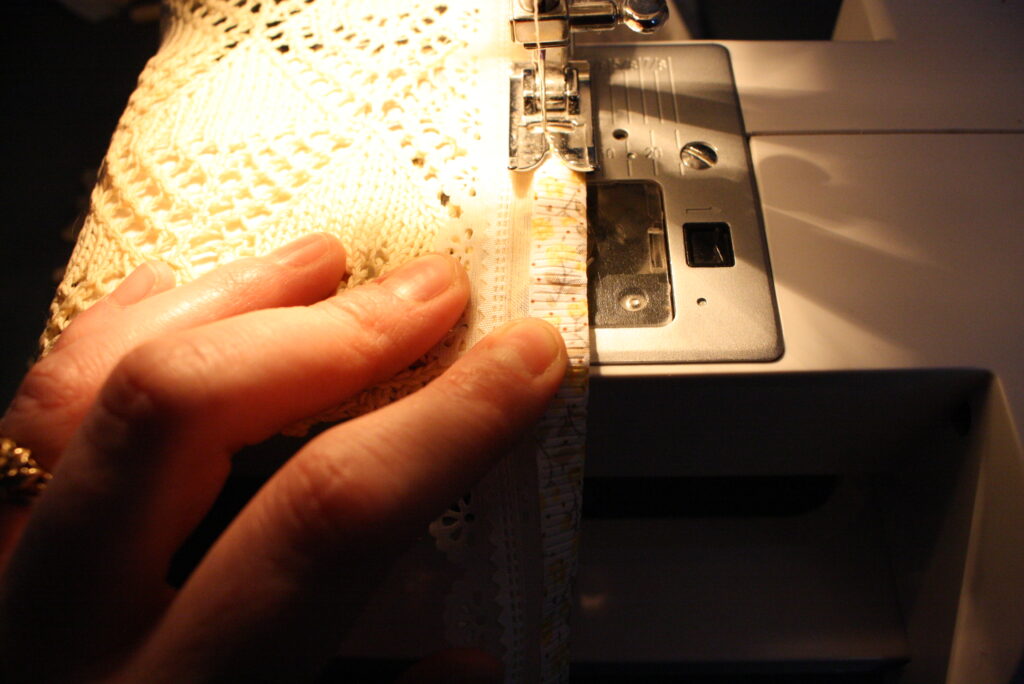
Step 5: Either by hang or with a machine, sew along the top edge of your bunting. (where you pinned)
When you’re sewing this final step make sure to backstitch back and forth to ‘tie’ the thread at each end of the bunting. You should do this wherever you start and where you finish.
You’re done! Great job! Now you have a decoration to enjoy year round or for parties and occasions of your choosing.
~Emily

Leave a Reply